Showing posts with label illustration. Show all posts

2.05.2016

Daily Illustration Project: Fool Daily

Well, friends, its time I [nervously] let you in on a little secret. 

I've challenged myself with a daily illustration project. I am attempting to draw a quick comic every morning and post it on Fool Daily. My style is still a little shaky and I'm exploring different subject matter and media, but I'm enjoying the technical challenge! 
I'm trying to keep it fairly simple so I don't fizzle out, but that possibility is always looming. I've waited two weeks before sharing, to give myself a chance to build up a habit.

school hours from Hourly Comic Day
I would be remiss if I didn't mention that much of my inspiration comes from Connie Sun's beautiful daily illustrated status messages. I started following her a couple of years ago after reading about her on NPR, and then this interview on The Rumpus. I wanted to be a cartoonist when I was a kid, but it was one of those things that seemed far away and unrealistic (like being a ballerina or zoo keeper), until I started following Connie. Somewhere along the way, I lost interest in being a zoo keeper, but I still love the idea of drawing comics.


So, I'm making a beginning, hoping to see it improve and flourish! I hope you'll check it out!

1.05.2016

Atelier

tucked away in the corner of my bedroom last month
I've had various studio arrangements over the years. When I was first married, a large drafting table filled much of the space of our bedroom. After we had kids, I moved my things to the awkward end of our long kitchen. During that time, my studio evolved more and more into a sewing studio, and I collected bins of fabric and notions stacked alongside the map table where I stored my paintings. When I had a big job to do, John and the kids would leave for a weekend at grandma's so I could take over the living room.

There was a brief time, when we moved into the new house, I had an entire room with a door. The closet and shelves and desk were all mine for sewing and painting. [See my pretty portrait in the sidebar?] Oddly it was a year between projects and so I didn't really use it much. And then again things changed, John started working from home, and sometime later we needed another nursery.

So I've been using my table top easel here (bedroom?) and there (kitchen table?) for the last few months.  As the new year begins and I am trying to devote myself to a new project. Oh, I'm so easily distracted. So a new space is in order.

a tidied-up lego-land loft

Our loft has been used for nothing but lego-land for months since we're doing school downstairs. I think lego-land, when kept tidy, might just be an inspiring place to work. My giant crocodile and the girls paintings adorn the space, making it a pretty happy place. So, I've carved out a corner for my old sewing table with the desktop easel nested on top (drawings courtesy of little ones). My own little attic atelier.

a table top easel for a new year and new project


As I'm focusing more on illustration projects and homeschooling, I'm posting more often at Many Mercies than here. You're welcome to join me there, or wait around for me to pop in here. Either way, I'll try to keep you posted when I've got more to share about my latest project.

Happy New Year, friends! May your projects be full of joy and success!

11.11.2014

Printable Cards to Color and Share for Thanksgiving, Winter, and other Greetings

I made these printable-coloring Thanksgiving cards a few years ago, and the girls and I just came across them again. Our plans this year are up in the air, and so I thought writing cards to all the family we won't see would be fun (although a challenge for little ones who don't like writing!)

These are an easy, low-ink printable, that fold in half to make cards. While I'm getting organized here's a list of all my printable coloring cards:

Thanksgiving
Animal Greetings
Rare Animal Greetings

I think I made the last two, but never shared them, so they are brand new. Check out the new Bon Hiver cards below. 


2.07.2014

Color Robot: A Comic for you

L had a brilliant idea while traveling in the car the other day. She pretended to be a robot. A hungry robot. At first she asked for a nail slushie, but then she began eating all of the colors she saw out the window. And so the idea of a color-eating robot was born. The girl's got a one track mind, and immediately upon returning home she began work on her color-eating robot comic. We used How to Make a Comic from our art week as a guide again.

She drew all of the pictures and developed the story herself. We spent some time together figuring out how to do the important facial expressions, and I would occasionally have her rethink how she was drawing something or prompt her with questions like, "do you think you should draw this tree the same way you drew it before?" Sometimes she rejected my comments, but she was up for the challenge. After drawing it, I did the ink for her again and scanned it. Then we were able to print a few copies for her to color. She made one with crayon, and is still working on a watercolor version. 
I cautiously asked if she minded if I colored a copy on the computer, too. I was thrilled that she said yes! She really likes collaborating, and I took her feedback on colors as well. She also insisted on including me on the title page.
This is my finished copy. I scaled it down to fit on one sheet of legal paper. L also really wanted to print lots of copies and give them to everyone.  I was a little thrilled at the zine potential. We haven't actually printed any copies yet, but I could see this being folded and mailed to friends. :)

This pic is full scale, 300 dpi. Print and share the love!

12.23.2013

Last Minute Stocking Stuffers [Made By Joel]

I discovered Made By Joel last week, and I absolutely love everything about him. His designs are simple, but oh-so lovely and creative. Explore his site and be sure to check out his crafts by age.

I stapled together the Thaumatrope, Tumble Bunnies, and Paper Woodpecker Toys, with Straw, Skewer, and two marbles in a bag. Several projects are printed two per page, so I cut them apart first. 

I printed a few of his projects (Paper Woodpecker, Bird Thaumatrope, and Tumble Bunnies) onto cardstock for stocking stuffers for my kids and my nieces and nephew. Then I assembled them into kits, with the other materials needed to make the projects. That way, the kids can help make them later - double fun! I should have added instructions to the kits, but didn't get to it - maybe we'll do it together at Christmas - otherwise, hey sis, check out the links above!


As I was assembling the kits, I realized two of the kids in our family were really too young to be given [ahem] marbles and skewers in their stockings, so I just assembled the thaumatropes using plastic straws for the little ones. Whew, that was a close one. His coloring pages are great for little ones, too.

For the cousins: Tumble Bunnies and Thaumatropes, with two marbles and a skewer in a bag. The assembled Thaumatropes with plastic straws for the little ones.

Below is a playlist of several Made by Joel youtube videos. He definitely wins for best use of a pop-up puppet ever! Enjoy!


12.13.2013

More Spoonflower Swatches: libraries, cats, upholstery and more!

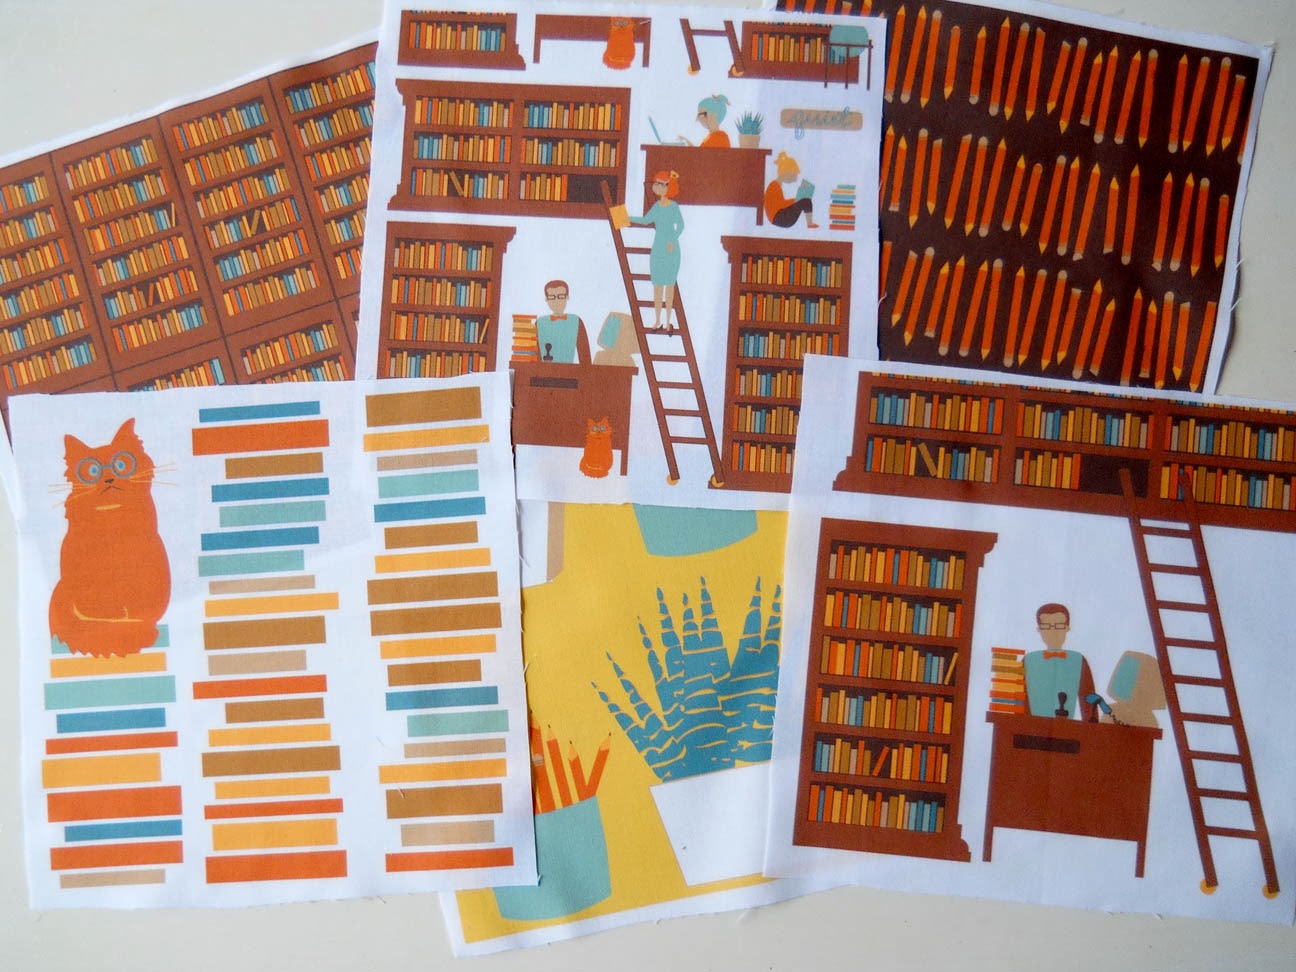
I just received a whole bunch of new swatches from spoonflower! It's happiness in a soft paper package.

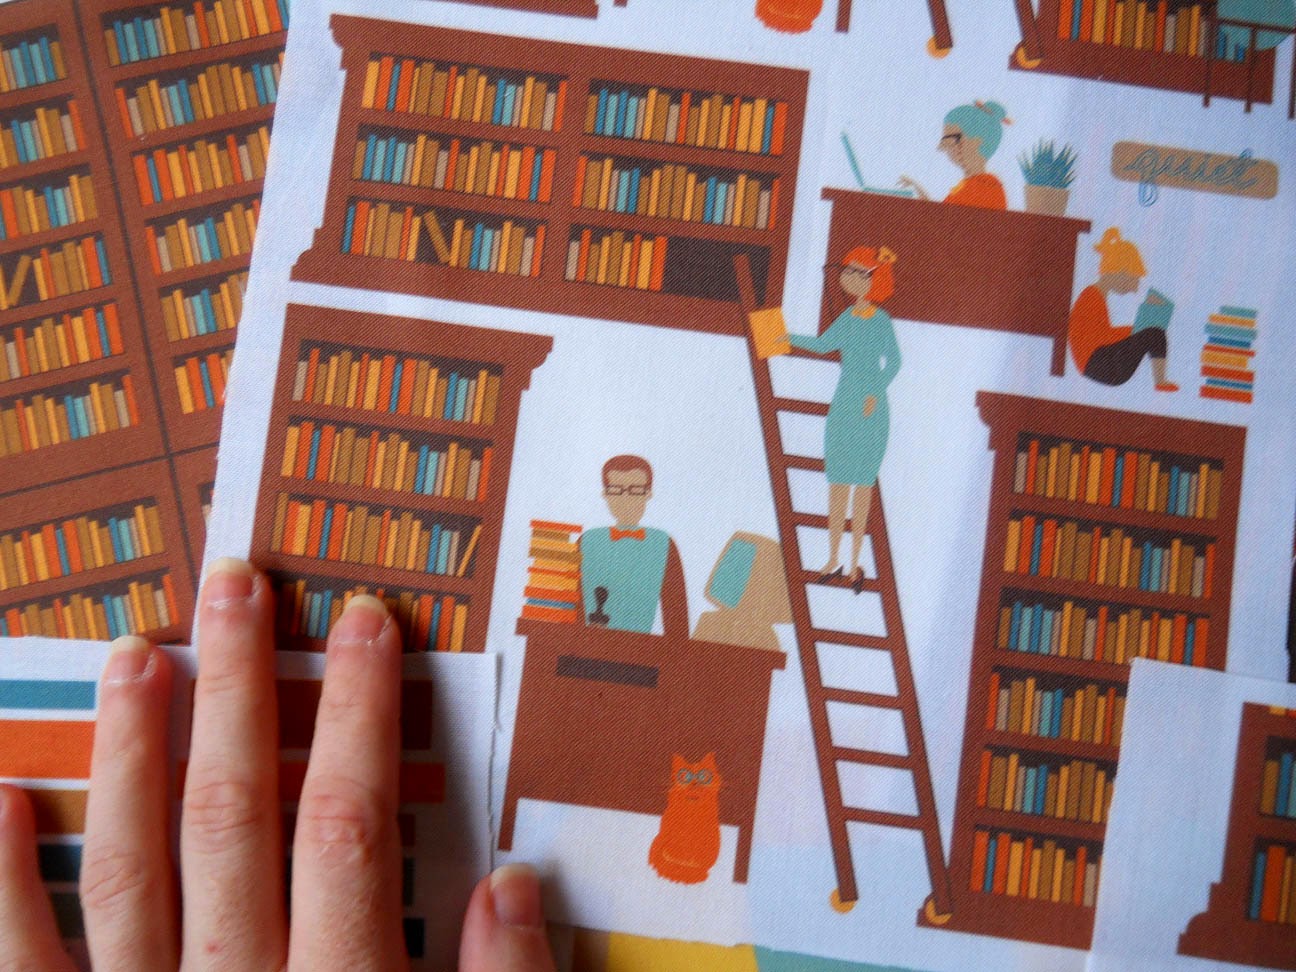
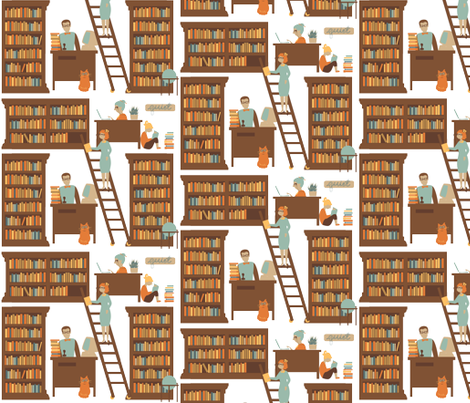
First, is a Library Collection I made, complete with John at his desk, bookshelves, chewed on pencils and a library cat. I don't like the house plant fabric very much, but that sure is a nice yellow.

six prints
the complete library scene
library cat
I don't have any plans for these, they were just fun to make. Some of these are much nicer when you can see the repeat. Like this one.

Librarians at work

This set was meant to be some simple designs for upholstery in our new house.


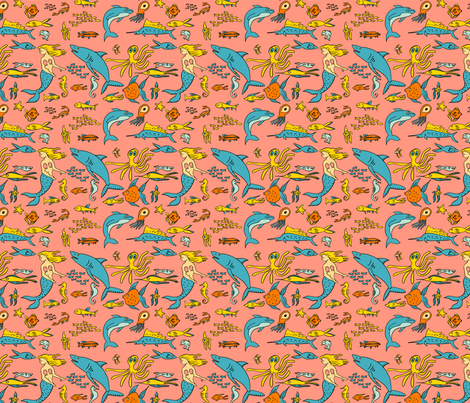
I haven't made any changes to my Sea Creatures Collection, but I got some swatches for a little swatch - stocking stuffer - project I have in mind. More about that coming up in a few days. In the meantime, you can check out this collection from a few years ago here.


Fish Pink

And this was supposed to be a whole fairy tale collection for my sister, the storyteller - but I got distracted and never finished it. I did put together a little Baba Yaga House in the Woods, which I think is kinda cute. It's begging to be developed into a collection. We'll see.


I also made these two sort of random prints that are now in my Uncollected Collection. I think this nature walk print might be one of my strongest ever. We're really into nature collections around here, so I had a shelf full of things to draw from. When I received the swatch I noticed a fine white line on one side of the repeat. I was able to quick fix the image and upload the revision. Thank goodness for swatches!


A lot of the detail in this one is lost when you look at the pattern on the fat quarter scale. I think that's my only complaint with Spoonflower - prints on a smaller scale don't look as good on the website as the larger prints. So I'm more drawn to the easy to see large prints, but practically I rarely sew with large prints. I wish they had a zoomed in small scale print option!

The other uncollected design was a pretty little fall print just for fun. There were two visible white lines in this one. They're much harder to see on the computer, but obvious in print. Now I'm stretching my background color beyond the edges of the art board to ensure that doesn't happen again.


More fun with Spoonflower! Check out the rest of my designs here. 

10.24.2013

Art Week! Thursday: Storytelling and Comic Books

THURSDAY MORNING was hard work, but was maybe my favorite part of Art Week (wait, have I said that every day?).  To participate in this activity you'll need to buy How to Make a Comic Book from Art Projects for Kids. This little guide could easily be used by older kids, and maybe is more directed for kids in the 8-12 age range. But my 6 year old did just fine with lots of guidance. She had to work really hard on this, and I was really proud of her efforts. She can give up on complicated projects easily, and so I was glad to see her learning that everything, including art, is better with hard work. My four year old had been begging to play with play doh, so she spent the day nearby working with play-doh while big sister and I made a comic.


We spent the morning planning out our story, dividing it into 8 panels and then drawing the panels. We did the lettering as we went along. This is the story L devised:

1. L tells mommy, "I want to be an artist!"
2. So Mommy and L and J paint and paint.
3. L thinks, "Whew! It's hard work to paint."
4. They painted and painted, and didn't give up until...
5. the painting was finished and it was beautiful.
6. When L was 17 years old, she went to art school
7. where she learned about painting.
8. And when she was all grown up, she was an artist.

We wanted to tell the story with mostly pictures, so with each frame we asked, "how can we show what's happening in this sentence?" We would discuss different options, and then draw. I corrected several drawing mistakes as well, explaining proportion and angles for the tables.


We also used the facial expression guide included in How to Make a Comic Book, which was really helpful and fun. We would discuss the feeling in each picture, and then look at the examples and decide which type of eyes and mouth and eyebrows would best illustrate that feeling.


It took us about two hours to complete our 8 panels - like I said, it was hard work for a 6 year old. I have some nice black ink pens, and so I inked the drawings for her while she took a break. Older kids could definitely do this themselves (and L could have as well), but we had already worked so long, I wanted to give her a break.

Another thing I did, after inking the drawing, was scan it into my computer. I know sometimes when the kids color things, the original drawing gets a bit lost. I was so proud of her work, I wanted to be able to save the original. I'm really glad I did. I also scaled the drawings down to fit the 8 panels onto one page (they were originally on 2 pages). The tiny-ness of the new drawing made them feel more like a comic, and we both got a kick out of that.

THURSDAY AFTERNOON we returned to color the comic. I gave L total freedom with this, although How to Make a Comic gives more guidance with color that would have been helpful. L colored one of the copies I made instead of her original with oil pastels which made nice bright colors.


I also spent a bit of time coloring her drawing digitally with Adobe Illustrator. I had lots of fun with this, although L thought that I didn't use enough colors. :)


We finished up the day by looking once again through our art books for famous paintings that had elements of storytelling. We noticed facial expressions, or details that were included to help suggest the story.


And then I selected some of my favorite children's books with great illustrations to talk about how stories are illustrated, and to notice the different styles of painting. We're big fans of Mo Willems (especially the way he uses the visual presentation of the text) and Patricia Polacco. Jan Brett also uses her illustrations to give extra details that aren't included in the text of the story. After selecting some great books, L enjoyed reading these again, this time paying more attention to how the text and the pictures go together and how some parts of the story are told through the pictures and not the text. 


Again, a very structured and detailed project was really satisfying and lots of fun. This was also a sneaky way to get her to do some writing without so much complaint. I think bookmaking may be a great way to encourage her to practice her writing in the future - so I see many more comic books in our future! And reading with comics seems to be a next step as well, so I'm on the hunt for good graphic novels/comic books for younger girls. This list looks really good, but I'll also take recommendations!


Keep up with the rest of Art Week here:
Get Ready
Monday: Experimenting with Materials and Textures
Tuesday: Landscapes and Space
Wednesday: People and Portraits
Thursday: Storytelling and Comic Books
Friday: The Exhibit

8.31.2013

Coffee First

I may have waxed philosophical about doing the dishes before, but lately I've been struggling to keep up. I snapped a photo one morning, seeing my pile of dishes. And then tonight I procrastinated doing the dishes even longer by playing with this photo.

It's just silliness, folks. No wise words, just trying to avoid dishes.

Ah, but, maybe I should stop avoiding and try being "present" with my dishes again? Or maybe I'll just be present with my coffee a little longer.

What are you avoiding? What keeps you going?

7.27.2013

Printable Merit Badges: you earned it.


Merit badges really appeal to my need for external validation. I can just picture Ed Chigliak wrestling a little green man in a trailer park, right now, on my behalf.

What, didn't you watch Northern exposure?

While I was working on my book Flip Dolls & Other Toys That Zip, Stack, Hide, Grab & Go, I spent one particular evening sewing at least 8 zippers without swearing or injuring myself or even breaking a needle. Not too long ago, I'd buy extra needles, expecting to break at least 2, when working with zippers. I'll admit - I was feeling pretty proud. I've come a long way since I started sewing, and gained quite a few skills.

I'd say, I finally earned my zipper badge.


Later, when I was doing the illustrations for the book I remembered that feeling of accomplishment, and I drew merit badges to go with the skills taught in the Getting Started chapter. I've been wanting to make some in some sort of practical and share-able format ever since. Today's the day!


So, if you're collecting new skills (or refreshing old ones), and you need a little motivation - here's a treat for you! 12 printable merit badges for some essential sewing and softie making skills. Most of these skills are included in my book, but these will apply to lots of sewing skills. The pdf below includes the merit badges, along with some suggested accomplishments for earning your badge, and a "Sewing Skills" sash. Once you've earned your badge, print it, cut it out, and paste it on the sash to display for a little External Validation.


I think these definitely need to be uploaded to spoonflower and turned into Sewable Merit Badges. But I'm not there yet. What fun these will be to encourage the little ones as they start learning to sew! Download the files below, and be sure to let me know how you're using them!


5.15.2013

Flip Dolls & Other Toys that Zip, Stack, Hide, Grab, and Go


I have to say, publishing a book feels very surreal. I always feel a little goofy telling people I wrote a book - because, really? Did I do that?

Most of my contact with my editor Thom at Lark Crafts  has been by email, with a few phone calls and letters - but never in person. So, occasionally, I've wondered if I'm really like the guy in A Beautiful Mind: anxiously working on projects I can't show anyone, spending hours writing and editing, and mailing away my work in large cardboard boxes; only to one day discover that I've really been corresponding with spammers and all of my plush toys have been stuffed into a hollow log in the woods.

But then yesterday, the UPS man, who seemed to be quite real, delivered an advanced copy of the book, right to my door. And then I saw that Flip Dolls & Other Toys is available on Amazon for pre-order already! And let me tell you, its slick and beautiful, with gorgeous photos and bright colors, and a layout that makes me giddy.

Don't worry, you'll hear more about it soon. It will be officially released in August, and I can't wait to show you all the fun projects in the book!

7.06.2012

Let's Draw Funny Faces: a little book


If you sat next to me in high school, or college, at the dmv or anytime when I was on the phone - you probably know I like to doodle silly faces.


They were like legos for me. I'd start with eyes, and then figure out where a nose would fit. Then you'd begin to see a personality, so I'd draw a mouth to match. The features would define the facial structure, so building the cheeks and chin around them was a natural next step. This was a lot of fun for me, addictive and endless. I never knew what the faces would look like when I started, and there were never two alike. 


I've been wanting to make a little book like this for a long time, ever since I woke up in the middle of the night with the memory of that funny cartoon book from the 80's with different eyes, noses and hairstyles, that you trace to make a million different characters? Remember that? I forgot the title. 


Anyway, after making L's drawing book, I was on a roll. I made this book in an afternoon. It's by no means exhaustive, but a handy little reference, let's say. It's not necessarily meant for kids like the last one, it has more words and more complex shapes. Mostly, this was just fun to make, and I hope it will be fun to draw from!


Like the other drawing book, it only includes minimal space for drawing, so it's best if paired with a blank book. Download your copy here, available until July 25th. The book is available in the shop. See my tips for making books in the previous post.

What do you doodle?